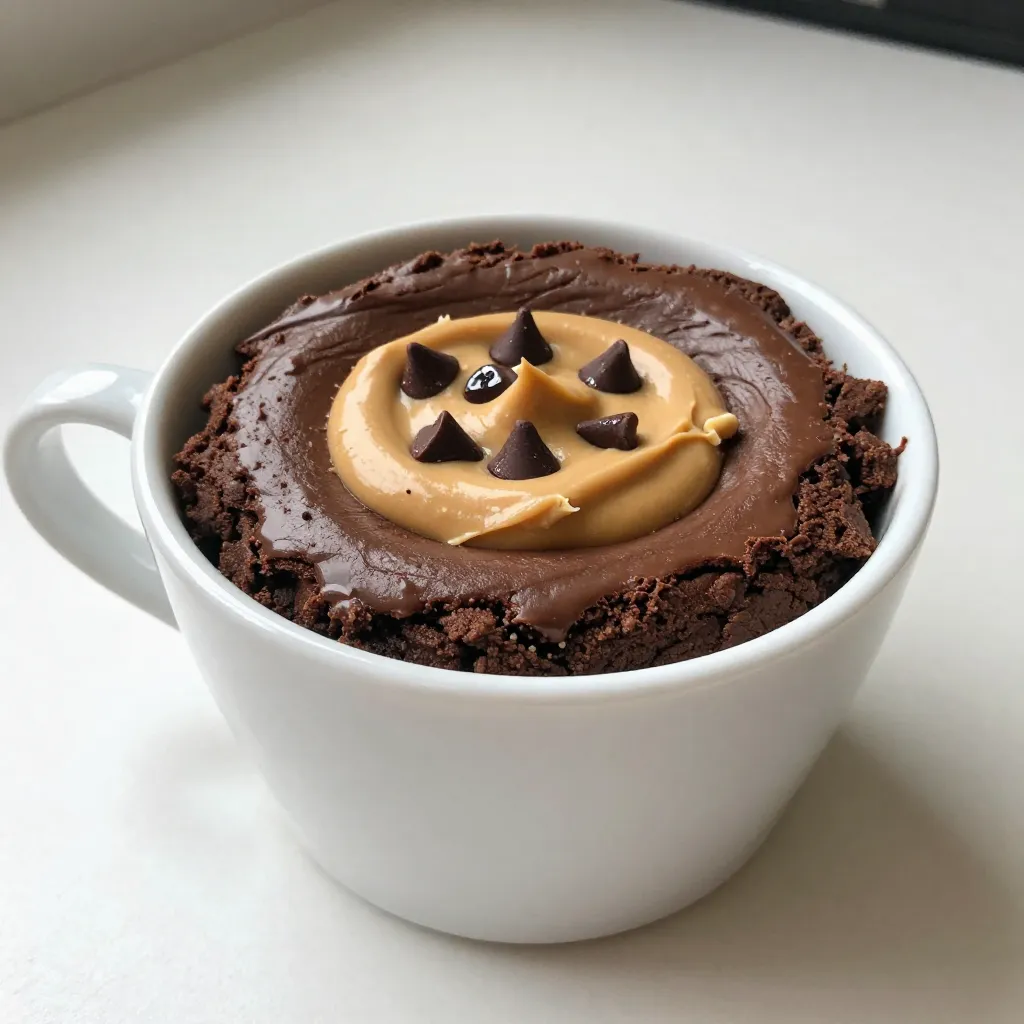
Craving a sweet treat but short on time? You can whip up a delicious Chocolate Peanut Butter Mug Brownie in minutes! This simple recipe uses just a few ingredients, making it easy to satisfy your chocolate cravings. Whether you need a quick dessert after dinner or a tasty snack, this brownie is perfect. Let’s dive into the steps and tips to make this rich and gooey delight!
Why I Love This Recipe
- Quick and Easy: This recipe takes only about 5 minutes from start to finish, making it perfect for a last-minute dessert craving.
- Single Serving Delight: Enjoy a personal-sized brownie without the temptation of a whole batch, perfect for satisfying solo dessert moments.
- Customizable Flavors: You can easily modify the recipe by adding nuts, extra chocolate chips, or even a swirl of caramel for a unique twist.
- Decadent Peanut Butter Center: The creamy or crunchy peanut butter adds a rich and satisfying layer that elevates the simple brownie experience.
Ingredients
Measurement of Dry Ingredients
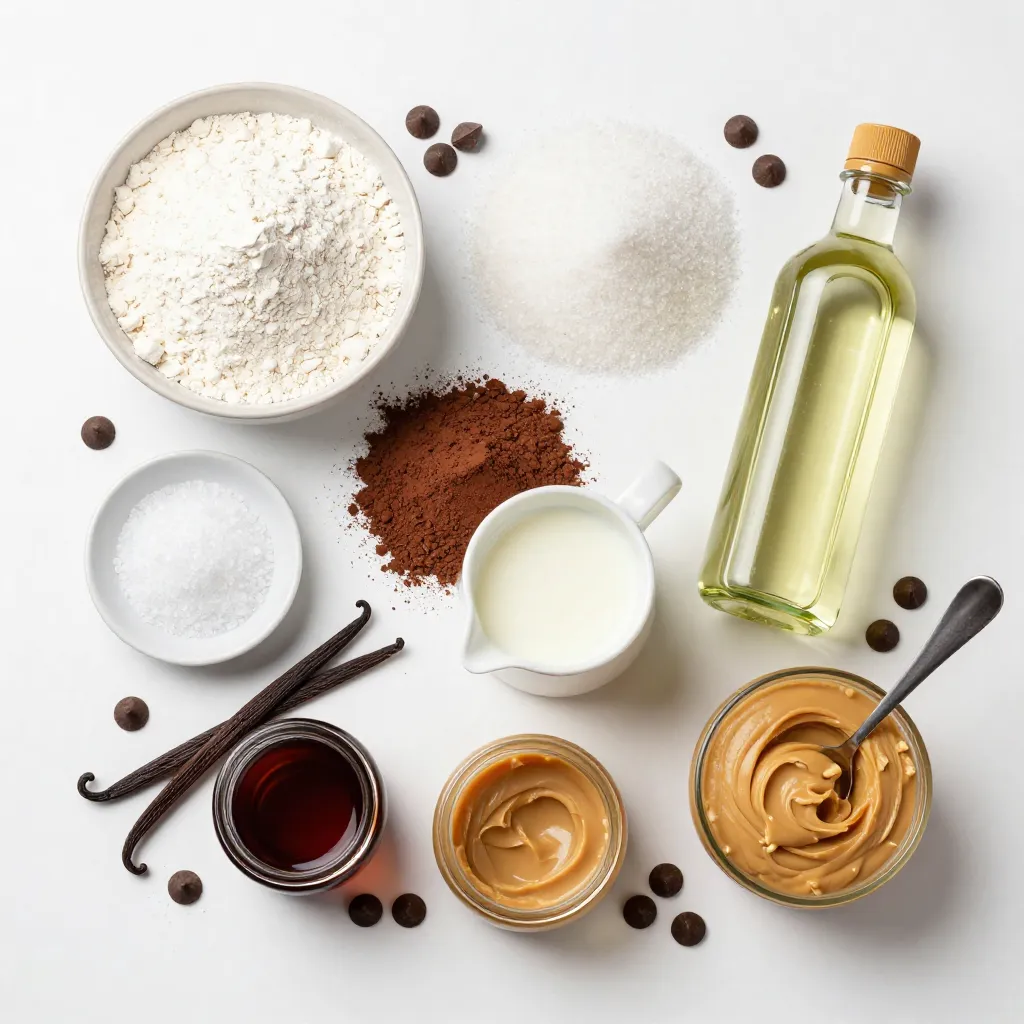
For the dry mix, you need:
– 4 tablespoons all-purpose flour
– 4 tablespoons granulated sugar
– 2 tablespoons unsweetened cocoa powder
– 1/8 teaspoon baking powder
– A pinch of salt
These ingredients form the base of the brownie. Mixing them well ensures a smooth and even flavor.
Measurement of Wet Ingredients
For the wet mix, grab:
– 3 tablespoons milk (dairy or non-dairy)
– 2 tablespoons vegetable oil (you can use melted coconut oil)
– 1/2 teaspoon vanilla extract
These wet ingredients help bind everything together. They add moisture and a lovely aroma to your brownie.
Optional Add-ins for Extra Richness
If you want to make your brownie even richer, consider adding:
– A handful of chocolate chips
These chips melt and create pockets of gooey chocolate. It’s a sweet surprise in every bite!
Step-by-Step Instructions
Mixing the Dry Ingredients
First, grab a big microwave-safe mug. In it, mix these dry ingredients:
– 4 tablespoons all-purpose flour
– 4 tablespoons granulated sugar
– 2 tablespoons unsweetened cocoa powder
– 1/8 teaspoon baking powder
– A pinch of salt
Stir these together well. This step is key to a great taste. Make sure no lumps stay in the mix.
Combining Wet Ingredients with the Dry Mixture
Now, it’s time for the wet stuff. Add:
– 3 tablespoons milk
– 2 tablespoons vegetable oil
– 1/2 teaspoon vanilla extract
Pour the wet ingredients into the dry mix. Stir it all together until it’s smooth. This makes the batter rich and creamy.
Adding Peanut Butter and Chocolate Chips
Next, take 1 tablespoon of peanut butter. Drop it right in the center of your batter. Use a toothpick or spatula to swirl it gently. Don’t mix it too much! You want to see that yummy peanut butter swirl.
If you love chocolate, toss in a handful of chocolate chips on top. They will melt and add extra goodness.
Now your mug brownie is ready to cook! Just follow the next steps to microwave it.
Tips & Tricks
Achieving the Perfect Brownie Texture
To get the best texture, mix dry ingredients well. This helps all flavors blend. When you stir in the wet mix, do it slowly. Make sure there are no lumps. This will give you a smoother brownie. The peanut butter adds creaminess, but don’t mix it fully. Swirl it in gently for a tasty surprise in every bite.
Best Microwave Settings for Cooking
Microwave power can change how long you cook your brownie. Start with 40 seconds on high. Check if the edges look set but the center is still soft. If it needs more time, add 10 seconds. Be careful not to overcook; a gooey center is what we want. It will firm up as it cools.
Presentation Ideas for Serving
Serving can be fun! You can eat your brownie right from the mug. This is cozy and easy. If you want to impress, move it to a plate. Drizzle extra peanut butter on top for flair. A scoop of vanilla ice cream is a great touch. It adds a nice cold contrast to the warm brownie. Enjoy your treat!
Pro Tips
- Use a Larger Mug: Choose a mug that is larger than the typical coffee mug to prevent the brownie from overflowing as it rises during microwaving.
- Experiment with Nut Butters: Feel free to substitute peanut butter with almond butter or any other nut butter for a unique flavor twist.
- Customize Your Toppings: Add your favorite toppings like chopped nuts, mini marshmallows, or a sprinkle of sea salt for added texture and flavor.
- Microwave Settings Vary: Keep in mind that microwave power levels differ; adjust the cooking time accordingly for perfect results.
Variations
Nut-Free Option
To make a nut-free version of your Chocolate Peanut Butter Mug Brownie, simply skip the peanut butter. You can replace it with sun butter or a nut-free chocolate spread. This keeps your brownie creamy and delicious without any nuts. You still get that rich, chocolatey flavor that everyone loves.
Vegan Version
For a vegan Chocolate Peanut Butter Mug Brownie, use plant-based milk like almond or oat milk. Replace the vegetable oil with melted coconut oil or a vegan butter. Also, check that your chocolate chips are dairy-free. This way, you can enjoy a tasty treat while sticking to a vegan diet.
Flavor Enhancements
You can enhance your brownie with different flavors. Try adding a pinch of cinnamon for warmth. A dash of espresso powder can boost the chocolate taste. You can also mix in a few drops of mint or almond extract for a fun twist. These small changes can take your mug brownie to the next level!
Storage Info
Best Practices for Storing Leftovers
If you have leftover brownie, let it cool completely. Then, cover the mug with plastic wrap or transfer it to an airtight container. This helps keep the brownie moist. You can also store it in the fridge for a firm texture.
Reheating Instructions
To reheat your brownie, pop it back in the microwave. Heat it in short bursts of 10-15 seconds. Check it often to avoid drying it out. You want it warm but not too hot. Add a little milk on top if it seems dry. This adds moisture for a soft bite.
Recommended Shelf Life
The brownie will stay fresh in the fridge for about three days. If stored at room temperature, enjoy it within two days. For the best taste, eat it soon after making it. The flavors shine brightest when fresh!
FAQs
Can I make this mug brownie ahead of time?
Yes, you can make this mug brownie ahead of time. However, it’s best to enjoy it fresh. If you want to prepare it ahead, mix the dry ingredients and store them in a sealed bag. When you’re ready to bake, just add the wet ingredients and microwave. This keeps your brownie fresh and tasty.
What can I substitute for peanut butter?
If you don’t have peanut butter, you can use almond butter or sunflower seed butter. Both options give a great taste. Choose your favorite nut or seed butter to add flavor. You can also use Nutella for a chocolatey twist.
How can I make this brownie gluten-free?
To make this brownie gluten-free, swap the all-purpose flour for gluten-free flour. Look for a blend that works well in baking. You can also use almond flour or coconut flour. Just remember, the texture may change slightly, but it will still taste great!
In this blog post, I shared how to make a delicious mug brownie. We covered measuring dry and wet ingredients, mixing them, and adding rich extras. I also provided tips for the best texture, cooking times, and serving ideas. You learned about tasty variations, storage tips, and common questions.
Making brownies in a mug is easy and fun. Enjoy your treat any time, knowing you made it yoursel