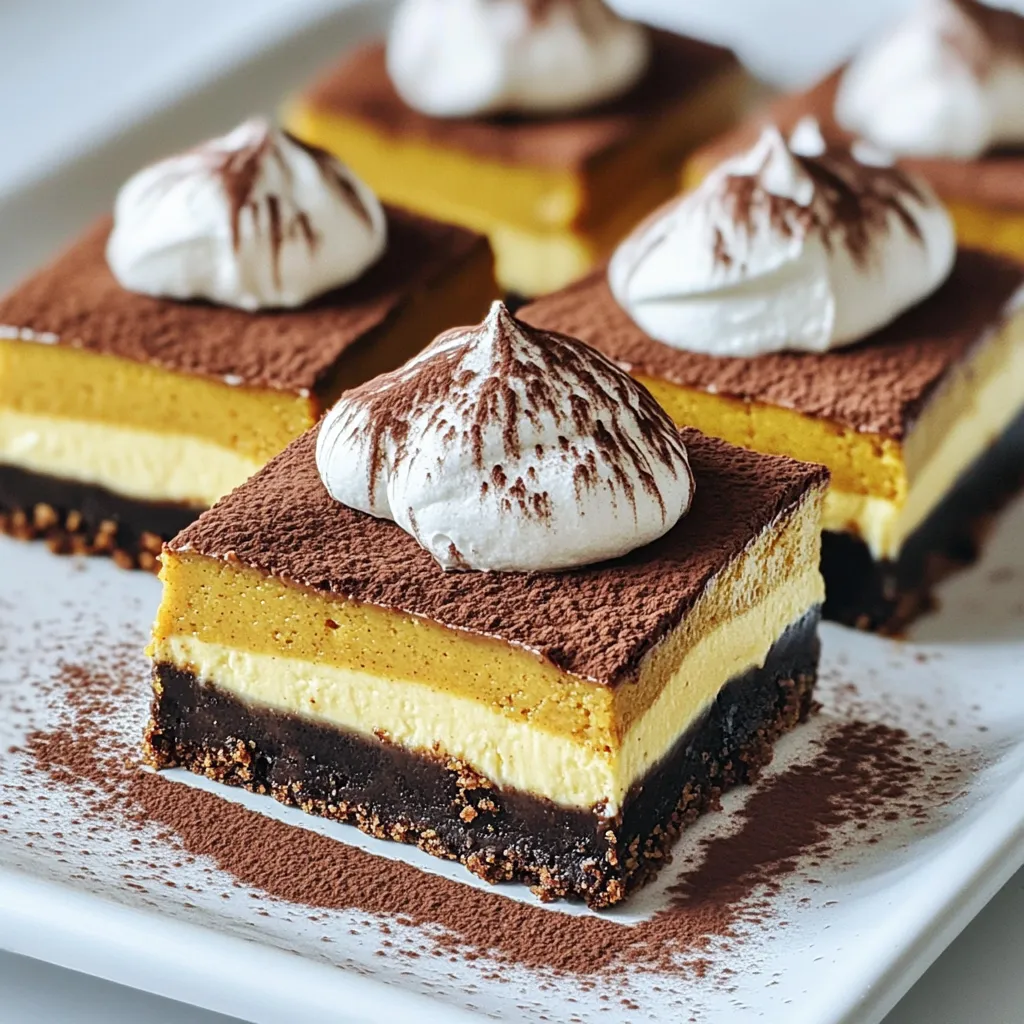
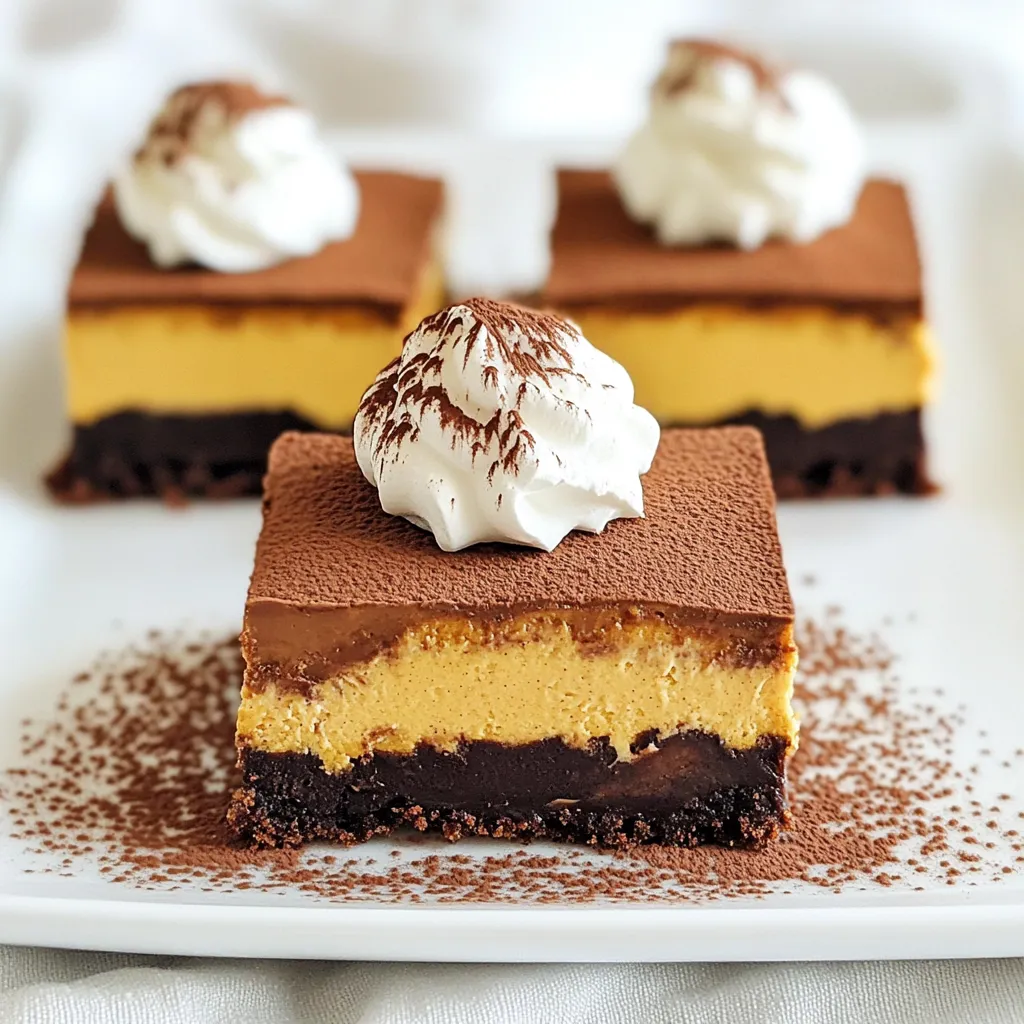
Indulge in a sweet, no-bake treat that combines the rich flavors of chocolate and pumpkin! My Chocolate Pumpkin Cheesecake Bars are simple to make and perfect for any occasion. With a creamy filling and a crunchy crust, you won’t believe how easy these bars are to whip up. Join me as we explore the ingredients, step-by-step instructions, and tips to make these bars a standout dessert. Get ready for a delightfully delicious experience!
Ingredients
List of Ingredients
– 1 ½ cups graham cracker crumbs
– ½ cup unsweetened cocoa powder
– ½ cup unsalted butter, melted
– 2 cups cream cheese, softened to room temperature
– 1 cup pure pumpkin puree
– ¾ cup powdered sugar
– ½ teaspoon pure vanilla extract
– 1 teaspoon pumpkin pie spice
– ½ cup semi-sweet chocolate chips, melted
– ½ cup whipped cream, for topping
– Cocoa powder for dusting (optional)
Ingredient Notes
Use fresh cream cheese for a smooth filling. Softening it to room temp helps. The pumpkin puree should be pure, not pie filling. It adds rich flavor and moisture. Cocoa powder must be unsweetened for the best taste. Choose high-quality chocolate chips for a richer flavor.
Substitutions
If you want a gluten-free option, use gluten-free graham crackers. For a vegan twist, substitute cream cheese with vegan cream cheese. You can use coconut cream for a dairy-free topping. If you lack pumpkin pie spice, mix equal parts cinnamon and nutmeg for a similar flavor.
Step-by-Step Instructions
Preparing the Crust
To start, grab a medium bowl. In it, mix 1 ½ cups of graham cracker crumbs with ½ cup of unsweetened cocoa powder. This mix gives the crust a rich, chocolatey taste. Next, add ½ cup of melted unsalted butter. Stir until the mixture looks like wet sand. It should hold together when squeezed. Now, take an 8×8 inch baking dish and transfer the crumb mix into it. Press the mixture down firmly to form a solid crust. This step is key for a sturdy base. Place the dish in the fridge for about 15-20 minutes. This helps the crust firm up nicely.
Making the Filling
While the crust chills, it’s time to make the filling. In a large mixing bowl, beat 2 cups of softened cream cheese with an electric mixer. Make sure it becomes smooth and creamy. You don’t want any lumps here! Next, add 1 cup of pure pumpkin puree, ¾ cup of powdered sugar, ½ teaspoon of pure vanilla extract, and 1 teaspoon of pumpkin pie spice. Beat again on medium speed until everything is well mixed. The filling should be silky and smooth. Now, gently fold in ½ cup of melted semi-sweet chocolate chips using a spatula. This adds a wonderful flavor twist.
Assembling the Cheesecake Bars
Once your crust is set, it’s time to pour the filling on top. Carefully spread the pumpkin cheesecake mixture evenly over the chilled crust. Use a spatula to ensure it fills all corners. This step is crucial for even slices later. After that, cover the baking dish tightly with plastic wrap. Place it back in the fridge for at least 4 hours. This allows the cheesecake to set and become firm.
Chilling and Serving
After the waiting period, it’s time to serve! Lift the cheesecake out using the edges of the plastic wrap. Place it on a cutting board and slice it into 16 squares. For a finishing touch, add a generous dollop of whipped cream on each square. If you like, dust them lightly with cocoa powder. This makes for a pretty presentation. Serve the cheesecake bars on a decorative platter for a festive look. Enjoy your delicious treat!
Tips & Tricks
Perfecting the Texture
To get the right texture, make sure your cream cheese is soft. Let it sit out for a while before mixing. This helps it blend smoothly with the other ingredients. When you mix the pumpkin puree and cream cheese, beat until it’s creamy and free of lumps. This step is key for a perfect filling.
Flavor Enhancements
To boost the taste, consider adding a pinch of salt. Salt can enhance the sweetness and flavors. You can also mix in some extra spices, like nutmeg or cinnamon. They can add warmth and depth. If you love chocolate, try adding more melted chocolate chips for a richer flavor.
Presentation Ideas
For a stunning look, serve your bars on a decorative platter. You can garnish each square with a dollop of whipped cream. A light dusting of cocoa powder adds elegance too. If you want more flair, sprinkle some chocolate shavings on top. This makes each bar look even more tempting!
Variations
Alternative Flavor Combinations
You can easily switch up the flavors in these cheesecake bars. Here are a few ideas:
– Caramel Swirl: Add a swirl of caramel sauce before chilling for a rich, sweet touch.
– Peanut Butter: Mix in some creamy peanut butter to the filling for a nutty twist.
– Mint Chocolate: Use mint extract instead of vanilla for a refreshing flavor.
These variations keep your dessert fun and exciting!
Dietary Adjustments (Gluten-Free, Vegan)
To make these bars gluten-free, use gluten-free graham crackers. For a vegan option, swap cream cheese with dairy-free cream cheese. Here’s how:
– Gluten-Free: Ensure all ingredients are certified gluten-free.
– Vegan: Use coconut cream and a vegan butter substitute for the crust. Replace powdered sugar with a plant-based sweetener.
These changes let everyone enjoy this treat!
Seasonal Twists
Change the flavors to match the seasons. Here are some ideas:
– Winter: Add a hint of peppermint extract to the filling for a festive vibe.
– Spring: Mix in fresh lemon zest for a bright and zesty flavor.
– Summer: Top with fresh berries for a refreshing and fruity touch.
These seasonal twists make your chocolate pumpkin cheesecake bars shine all year!
Storage Info
Best Practices for Storing
To keep your chocolate pumpkin cheesecake bars fresh, store them in the fridge. Use an airtight container or cover the dish tightly with plastic wrap. This helps prevent any unwanted smells or flavors from getting in. Make sure the bars are completely cool before storing them. This will help maintain their texture and flavor.
Freezing Instructions
You can freeze these cheesecake bars if you want to save them for later. First, slice the bars into squares. Wrap each square tightly in plastic wrap, then place them in a freezer-safe bag or container. This prevents freezer burn. They can last up to three months in the freezer. When ready to eat, thaw them in the fridge overnight.
Shelf Life
These cheesecake bars last about 4 to 5 days in the fridge. Keep an eye on them for any signs of spoilage. If they start to smell off or look different, it’s best to toss them. If frozen, they can stay good for three months, but for the best taste, enjoy them within the first month.
FAQs
Can I use other types of chocolate?
Yes, you can use other types of chocolate. Dark chocolate adds a rich flavor. Milk chocolate gives a sweeter taste. Each choice changes the bars’ sweetness and depth. Just make sure to melt it properly for a smooth mix.
How long does it take to set?
The chocolate pumpkin cheesecake bars need at least 4 hours to set. This time allows the filling to firm up nicely. I recommend leaving them in the fridge overnight. This way, they are even better the next day.
Can I make this a day in advance?
Absolutely! Making these bars a day ahead is a great idea. It gives the flavors time to blend. Plus, it saves you time on the day you want to serve them. Just keep them covered in the fridge until you’re ready to enjoy.
What can I serve with chocolate pumpkin cheesecake bars?
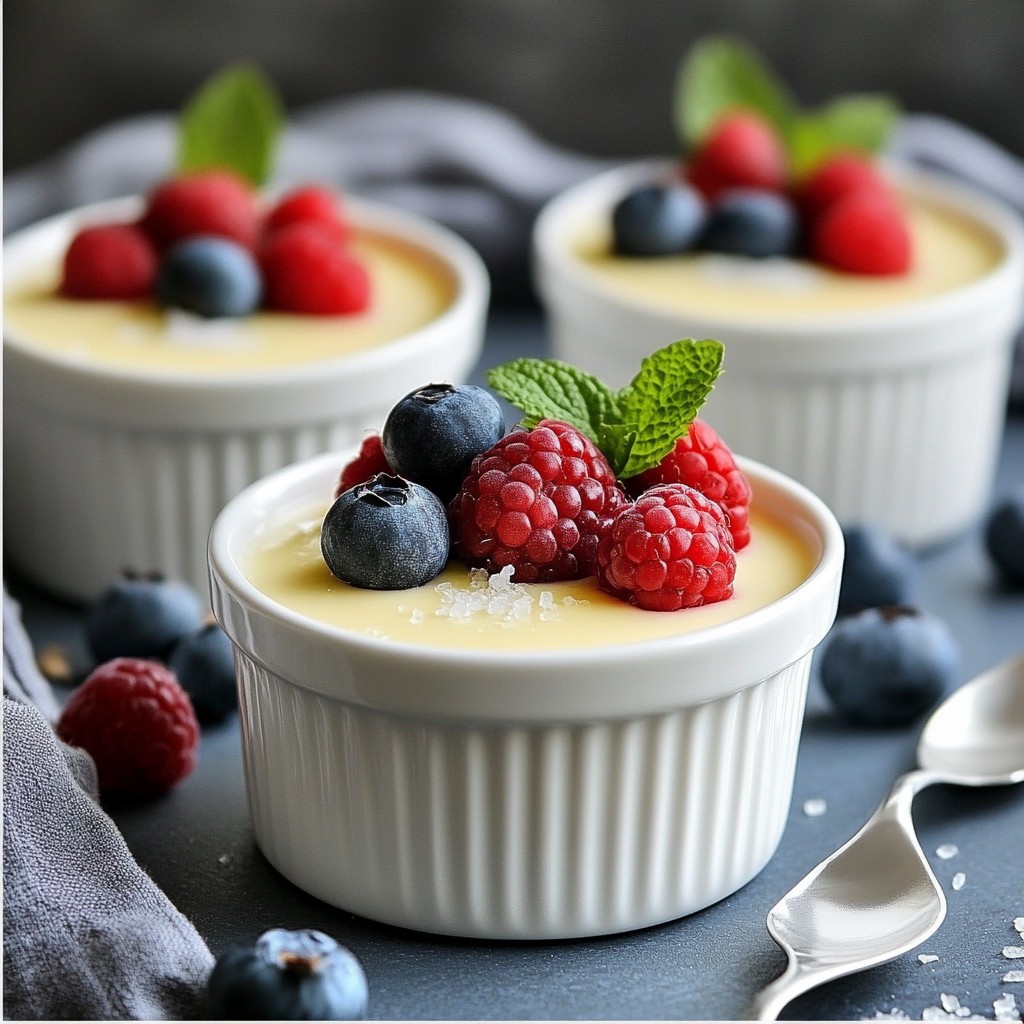
These bars pair well with many treats. Try serving them with fresh fruit like strawberries or raspberries. A scoop of vanilla ice cream is also a nice touch. You can even add extra whipped cream for more fun.
This article covered how to make delicious chocolate pumpkin cheesecake bars. We looked at the key ingredients, step-by-step instructions, and ways to make your bars extra special. I shared tips on texture and flavor, plus fun variations and storage advice.
Enjoy creating these tasty treats! Remember, you can adapt recipes to fit your needs. Have fun experimenting with flavors and sharing your bars with friends. You’ll impress everyone with your skills.