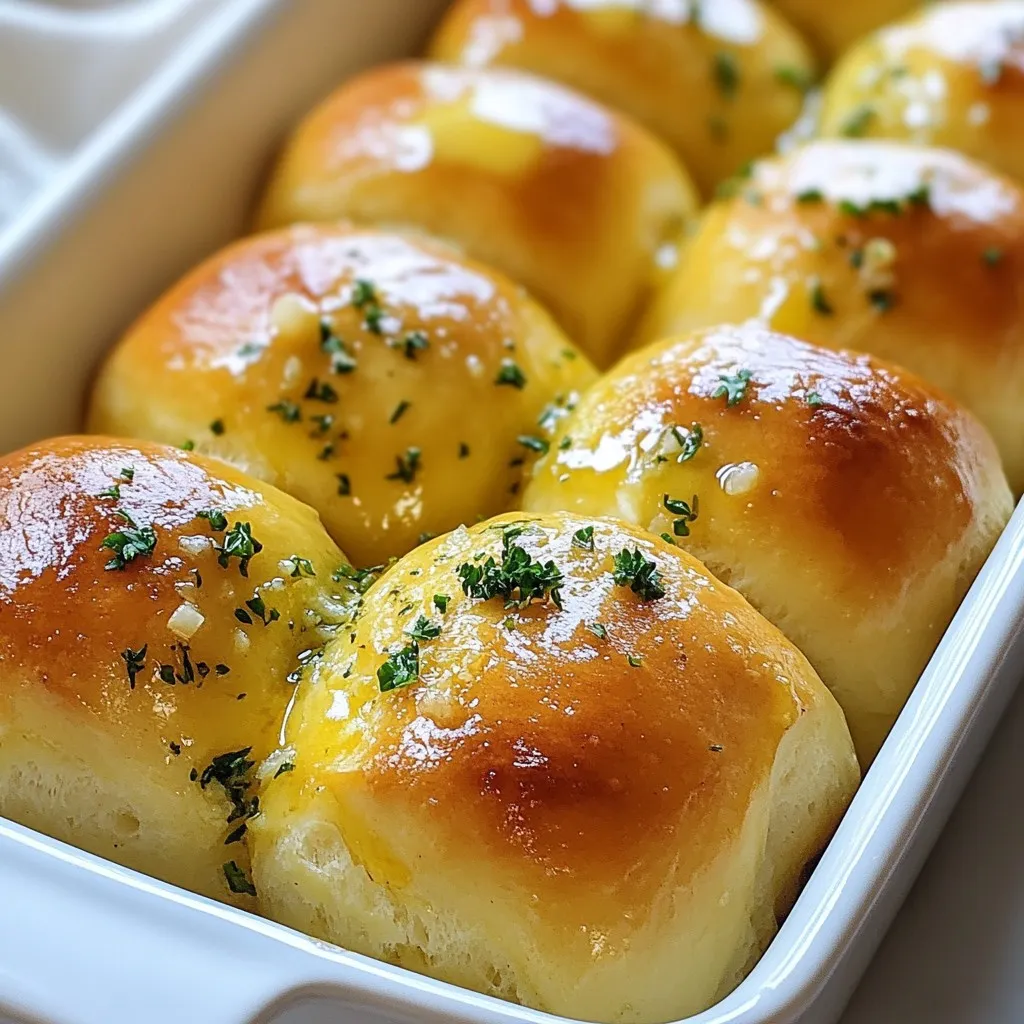
Looking for a soft and fluffy treat to elevate your dinner? These Garlic Herb Butter Dinner Rolls are perfect! You can make them quick with simple ingredients and a few easy steps. The warm aroma of garlic and herbs will fill your kitchen, and your friends will love them. Let’s dive in and learn how to create these delicious rolls that will make any meal special!
Why I Love This Recipe
- Homemade Goodness: There’s nothing quite like the aroma of freshly baked rolls filling your kitchen. These dinner rolls are soft, fluffy, and made from scratch, adding a personal touch to any meal.
- Garlic Herb Flavor: The garlic herb butter takes these rolls to the next level, infusing them with rich flavors that complement a variety of dishes, making them irresistible.
- Easy to Make: With simple ingredients and straightforward steps, this recipe is perfect for both novice and experienced bakers. You’ll be surprised at how easy it is to impress your family and friends.
- Versatile Side: These rolls are a fantastic accompaniment to any meal, from holiday feasts to casual dinners. They can be served warm with butter, making them a beloved addition to your table.
Ingredients
List of Key Ingredients
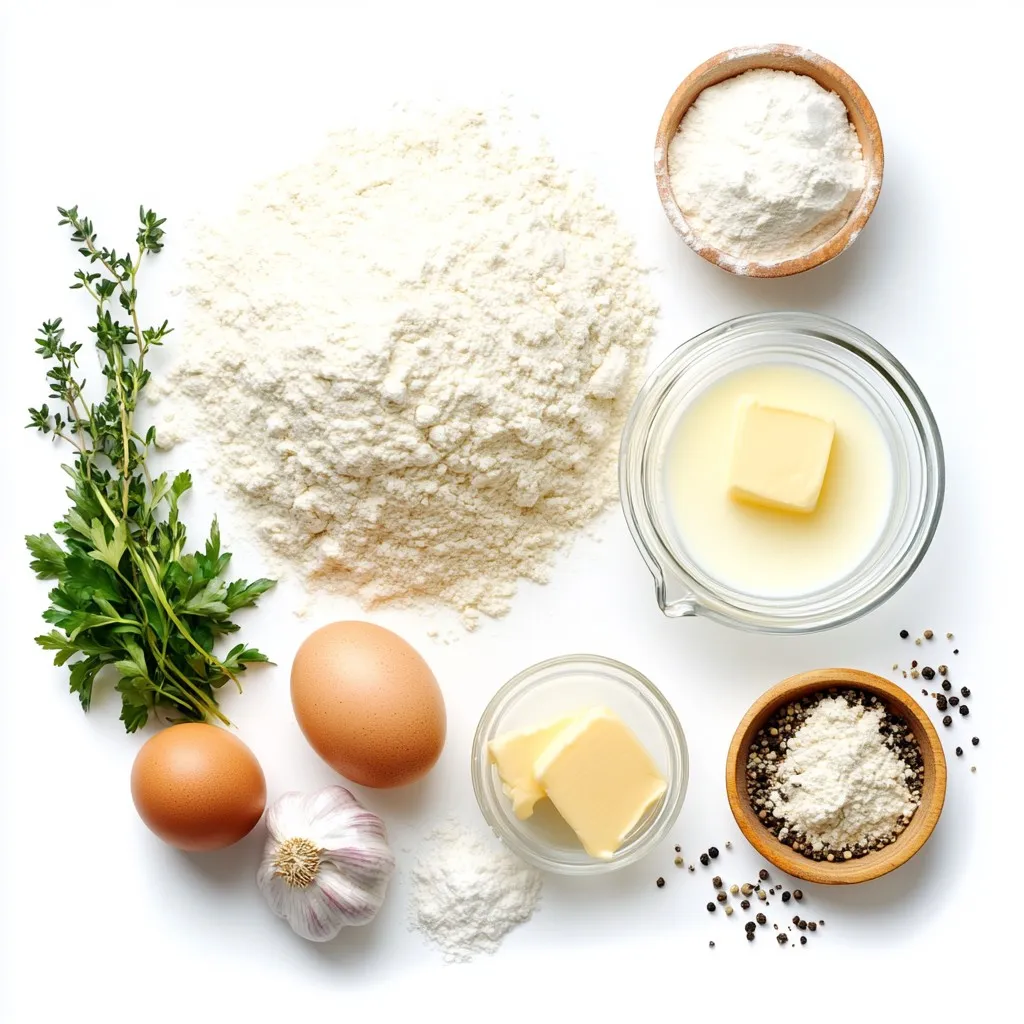
To make garlic herb butter dinner rolls, gather these key items:
– 4 cups all-purpose flour
– 1 packet (2 1/4 teaspoons) active dry yeast
– 1/4 cup granulated sugar
– 1 teaspoon fine sea salt
– 1 1/2 cups warm milk (about 110°F or 43°C)
– 1/4 cup unsalted butter, melted (plus more for coating)
– 2 large eggs, at room temperature
– 4 tablespoons unsalted butter, softened (for coating)
– 3 cloves garlic, finely minced
– 2 tablespoons fresh parsley, finely chopped
– 1 tablespoon fresh thyme, finely chopped
– 1 teaspoon dried oregano
– Freshly ground salt and pepper, to taste
Optional Ingredients for Enhanced Flavor
You can add extra flavor with these optional ingredients:
– Grated Parmesan cheese for a cheesy touch
– A pinch of red pepper flakes for heat
– Fresh rosemary or basil for more herb flavor
Ingredient Substitutions
If you’re missing an ingredient, try these swaps:
– Use bread flour instead of all-purpose flour for a chewier roll.
– Substitute honey or maple syrup for sugar to add natural sweetness.
– Use almond milk or soy milk in place of cow’s milk for a dairy-free option.
– Replace fresh herbs with dried versions if you don’t have fresh ones on hand.
These options help you customize your dinner rolls to fit your taste and pantry.
Step-by-Step Instructions
Activating the Yeast
First, mix warm milk, sugar, and yeast in a small bowl. Stir it gently. Let it sit for 5-10 minutes. You will see bubbles forming. This shows the yeast is ready. It helps the rolls rise.
Preparing the Dough
In a large bowl, sift together flour and sea salt. Make a well in the center. Pour in the yeast mix, melted butter, and eggs. Use a spatula or your hands to mix. The dough will look shaggy at first. Keep mixing until it comes together.
Kneading Techniques
Now, put the dough on a floured surface. Knead it for 5-7 minutes. Press and fold the dough with your hands. If it sticks, add a little flour. The goal is a smooth, elastic texture. This step is key for soft rolls.
First and Second Rise
After kneading, place the dough in a greased bowl. Turn it so it gets coated with oil. Cover with a towel and let it rise in a warm spot. Wait about 1 hour. The dough should double in size. After that, punch it down gently. Divide it into 12 equal pieces.
Shaping the Rolls
Take each piece and shape it into a ball. Tuck the edges underneath to make it smooth. Place the balls in a greased baking dish, close together. Cover them again and let them rise for 30 minutes. They will puff up nicely.
Making the Garlic Herb Butter
In a small bowl, mix softened butter, minced garlic, chopped parsley, thyme, oregano, and a pinch of salt and pepper. Stir well until it’s combined. This butter will give the rolls amazing flavor.
Baking and Final Touches
Preheat your oven to 350°F (175°C) about 10 minutes before baking. Brush the risen rolls with the garlic herb butter. Make sure they are well-coated. Bake for 20-25 minutes. They should turn golden brown. Once baked, take them out and brush with any leftover butter. Let them cool a bit before serving. Enjoy your soft and fluffy rolls!
Tips & Tricks
Common Mistakes to Avoid
When making garlic herb butter dinner rolls, watch for some common mistakes.
– Not activating the yeast: Always check if your yeast is alive. Use warm milk, not hot.
– Over-kneading the dough: Knead just until smooth. Too much can make rolls tough.
– Skipping the second rise: This step helps rolls become fluffy. Don’t rush this part.
How to Ensure Fluffy Rolls
Fluffy rolls need the right care and technique. Here are my top tips:
– Use warm milk: This helps activate the yeast. The milk should feel warm, not hot.
– Knead properly: Knead for 5-7 minutes until the dough is smooth and elastic.
– Let it rise: Allow the dough to double in size. A warm spot works best for rising.
Enhancing Flavor with Additional Herbs and Spices
You can boost flavor in your rolls easily. Here’s how:
– Fresh herbs: Add basil, rosemary, or chives for new tastes.
– Cheese: Mix in some grated cheese to the garlic herb butter for richness.
– Spices: Try adding a pinch of red pepper flakes or smoked paprika for warmth.
Pro Tips
- Use Fresh Ingredients: Always use fresh herbs and good quality butter for the best flavor in your garlic herb butter.
- Temperature Matters: Ensure your milk is at the right temperature (about 110°F or 43°C) to activate the yeast properly.
- Kneading Technique: Knead the dough until it’s smooth and elastic; this helps develop the gluten for a better texture.
- Watch the Baking Time: Keep an eye on the rolls towards the end of baking; ovens can vary and you want them golden brown, not burnt.
Variations
Cheesy Garlic Herb Rolls
You can make these rolls even better by adding cheese. Try mixing in shredded mozzarella or cheddar cheese into the dough. This will make them cheesy and flavorful. You can also sprinkle some cheese on top before baking. It will melt and create a tasty crust.
Whole Wheat Garlic Herb Rolls
For a healthier twist, use whole wheat flour instead of all-purpose flour. Whole wheat adds more fiber and a nutty taste. Mix the whole wheat flour with a bit of all-purpose flour for a lighter texture. This way, you keep the rolls soft while making them nutritious.
Herb and Spice Combinations to Try
Experiment with different herbs and spices to make unique flavors. Here are a few ideas:
– Rosemary and Garlic: Add fresh rosemary for a fragrant touch.
– Basil and Oregano: Use fresh basil for a sweet flavor with oregano for depth.
– Chili Flakes: For a kick, add chili flakes to the garlic herb butter.
– Cilantro and Lime: Mix in chopped cilantro and a bit of lime zest for a fresh twist.
Trying these variations will help you discover new favorites. Each option adds a special twist to the classic garlic herb butter rolls. Enjoy your baking adventure!
Storage Info
Best Way to Store Leftover Rolls
After you enjoy these rolls, store any leftovers in an airtight container. This keeps them soft and fresh. You can also wrap them in plastic wrap before placing them in a container. Avoid leaving them out, as they can dry out quickly.
How to Reheat for Freshness
To reheat your rolls, preheat your oven to 350°F (175°C). Place the rolls on a baking sheet and cover them with foil. This helps keep moisture in. Heat for about 10-15 minutes, or until warm. You can also microwave them for about 10-15 seconds. Just be careful not to overheat, or they will become tough.
Freezing Instructions and Tips
If you want to freeze these rolls, do it right after they cool. Place them in a freezer-safe bag or container. Make sure to remove as much air as possible to prevent freezer burn. These rolls can last up to three months in the freezer. To enjoy them later, take them out and let them thaw at room temperature. Then, reheat as mentioned above for the best taste.
FAQs
Can I make these rolls ahead of time?
Yes, you can make these rolls ahead. Prepare the dough, let it rise, and shape the rolls. Instead of baking them, cover and refrigerate them. Bake them the next day when you need fresh rolls.
What type of flour is best for dinner rolls?
I recommend using all-purpose flour. It gives the rolls a nice, soft texture. You can also use bread flour for a chewier roll, but all-purpose works great for fluffiness.
How can I make these rolls dairy-free?
To make these rolls dairy-free, substitute the milk with a plant-based milk. You can use almond, soy, or oat milk. Replace the butter with a dairy-free alternative, like coconut oil or a vegan butter.
Can I use fresh yeast instead of active dry yeast?
Yes, you can use fresh yeast. Use about 0.6 ounces of fresh yeast. Dissolve it in warm milk just like you do with dry yeast. It will give you similar results.
How to tell when the rolls are done baking?
The rolls should be golden brown on top. You can also tap the bottom; it should sound hollow. If they feel light and springy, they are cooked through.
What can I serve with garlic herb butter dinner rolls?
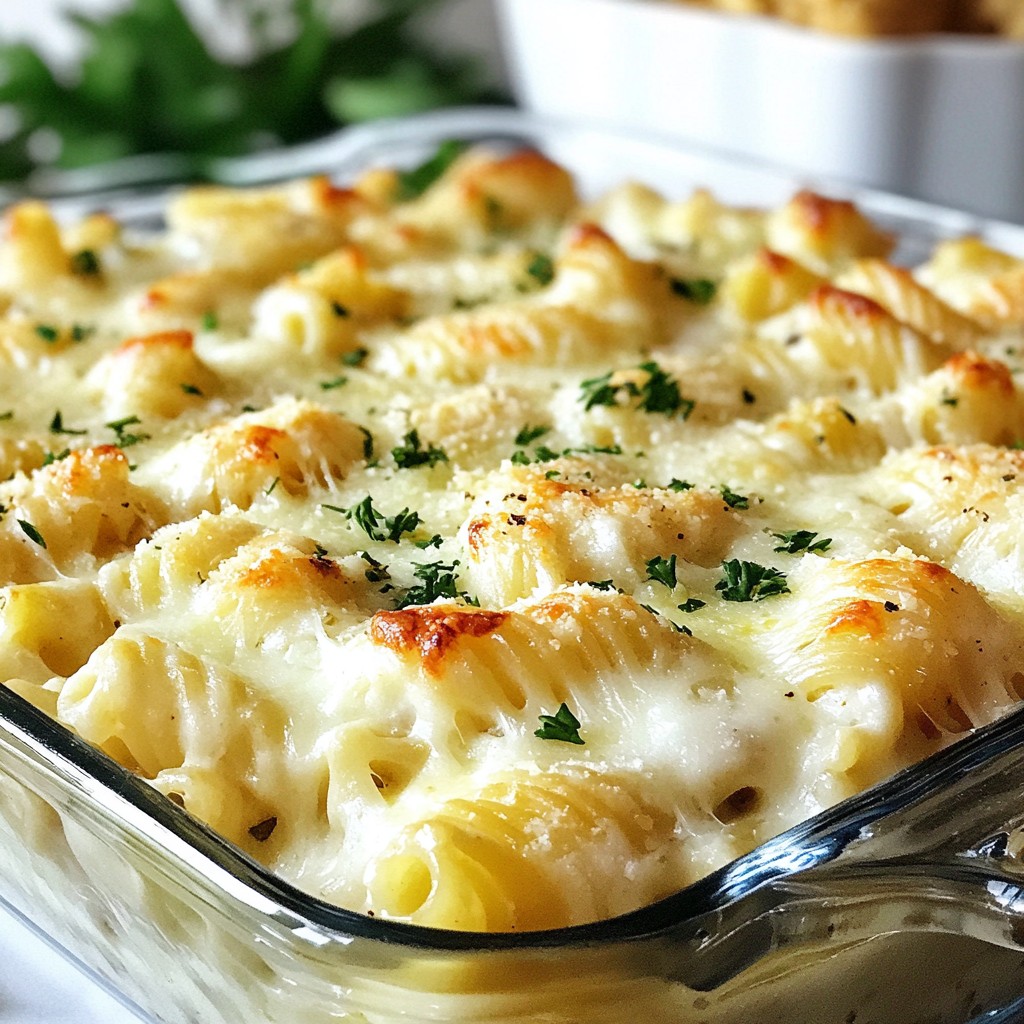
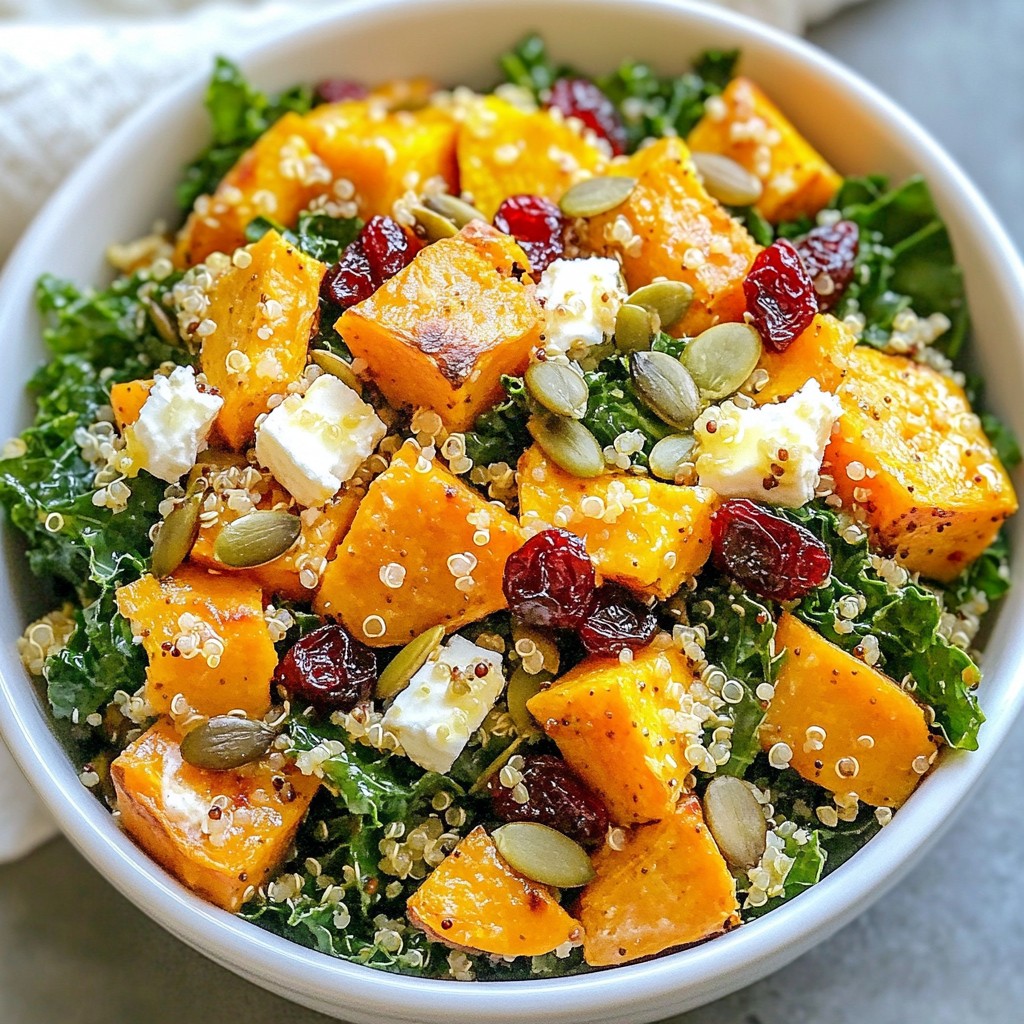
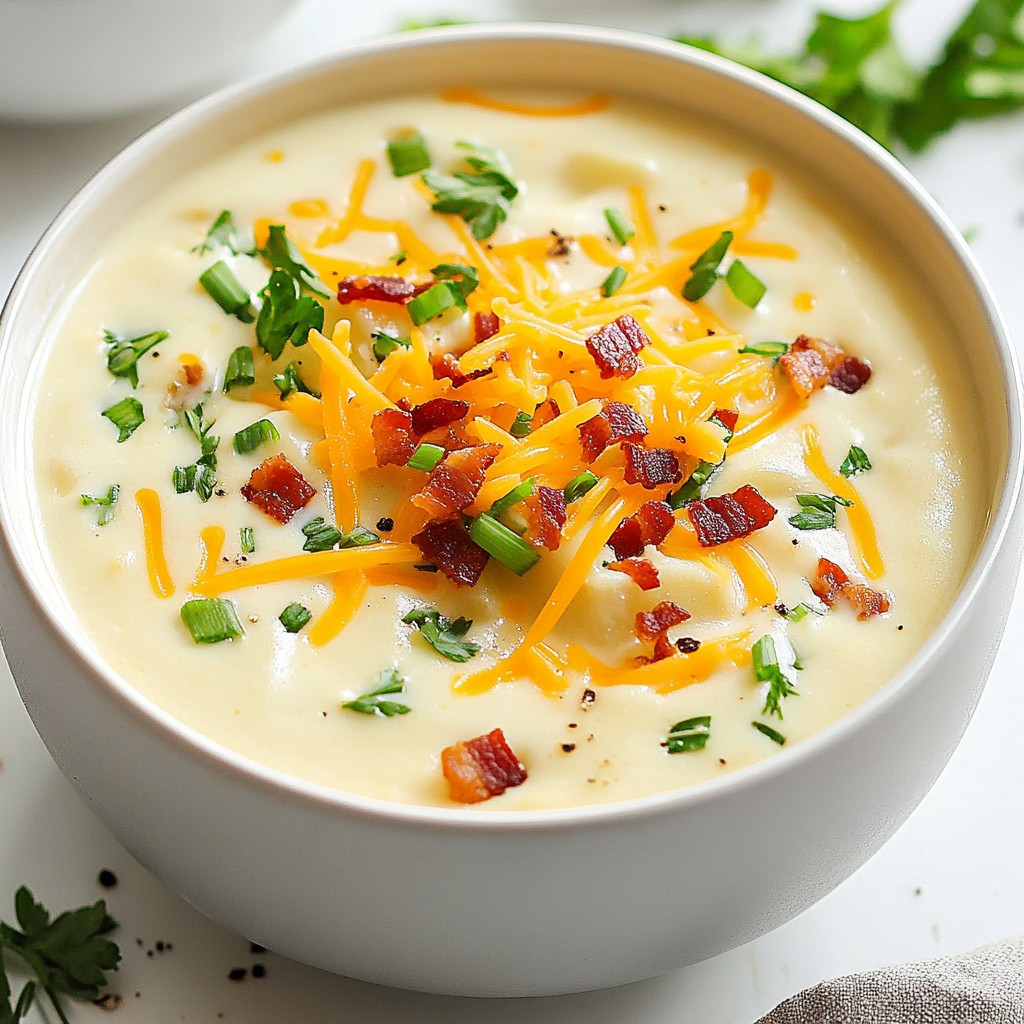
These rolls pair well with soups, salads, or pasta dishes. They also make a great side for roasted meats. Serve them warm with extra garlic herb butter or olive oil for dipping.
You learned about key ingredients for garlic herb rolls and their tasty options. Following step-by-step instructions makes baking easy and fun. I shared tips to avoid mistakes and ensure fluffy rolls. There are exciting variations, like cheesy or whole wheat rolls. Proper storage keeps leftovers fresh, and I answered common questions about baking.
With this knowledge, you can bake rolls that impress family and friends. Enjoy your baking adventur